If you’re getting ready to put on a Musical performance in your pre-k or kindergarten classroom, you’ll want your songs ready to play at the touch of a button. The good news is that you don’t need any expensive equipment or complicated software. In fact, the best software we found is totally FREE! You can store your music directly on a phone or tablet and play it through your classroom speakers whenever you need it.
In this guide, we’ll show you how to transfer MP3 files from your computer to an iPhone, iPad or Android phone, and how to prepare your music for reliable playback during a school performance.
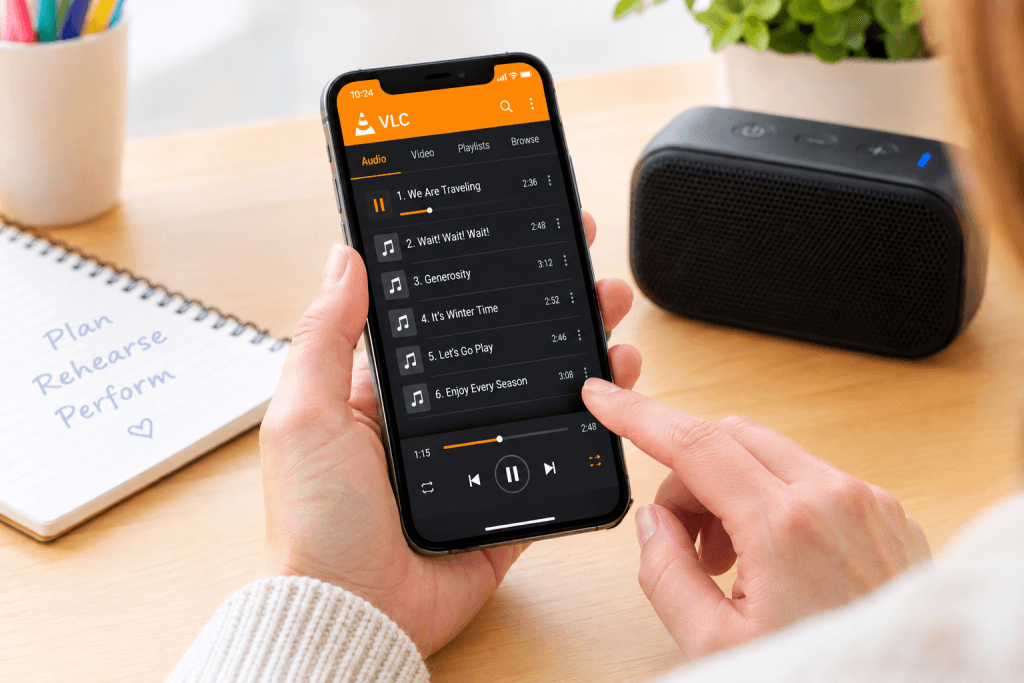
Our recommendation: Download the free VLC media player app and store your music directly on your device.Once your MP3s are saved, you can play them without an internet connection, making this a much more dependable option for performances.
1. Download a free music player
We recommend VLC media player. It’s free, works on Apple and Android devices, and plays MP3 files without needing to convert them or import them into a music library.
- iPhone and iPad: Download VLC from the Apple App Store
- Android phones and tablets: Find VLC on Google Play
Install the app and open it once. This is where you will store and play your library of tracks.
2. Download your MP3 music files to your computer
Before transferring anything to your phone or tablet, make sure the MP3 files are saved on your computer.
- Open your Songbird Musicals download or the folder containing your music.
- Download the MP3 files to your computer, if you haven’t already.
- Find the downloaded files. They’re usually in your computer’s Downloads folder unless you chose another location.
- If you have several songs, it can help to create a folder with the name of your musical and keep all the tracks together.
For example, you might have a folder called Traveling the Seasons containing all the songs for your performance.
Tip: Keep the original files on your computer as a backup. You can always transfer them again if you change devices.
3. How to add MP3 files to an iPhone or iPad
The easiest method is to transfer the songs over Wi-Fi using VLC’s built-in sharing feature. You don’t need to connect your device with a cable.
Step 1: Open VLC on your iPhone or iPad
Make sure your computer and your iPhone or iPad are connected to the same Wi-Fi network.
Open VLC on your device and look for the Network tab. Depending on the version of the app, the layout or wording may vary slightly.
Step 2: Turn on Wi-Fi sharing
- Open the Network section in VLC.
- Find the option called Sharing via Wi-Fi or Wi-Fi Sharing.
- Turn it on.
VLC will display a web address or IP address on your device. Leave VLC open on this screen for the next step.
Step 3: Open the address on your computer
On your computer, open a web browser such as Chrome, Safari or Edge.
Type the address displayed in VLC into the browser’s address bar and press Enter. Make sure you enter the full address exactly as shown.
You should now see a page that allows you to transfer files to your device.
Step 4: Upload your MP3 files
Find the MP3 files you downloaded earlier.
You can usually drag and drop the files into the browser window, or use the upload button to select them from your computer.
Wait for the transfer to finish. Your songs will now be stored in VLC on your iPhone or iPad.
Step 5: Check your music
Return to VLC on your device and find your transferred songs in the audio or media library.
Tap a track to play it and check that the sound comes through correctly.
That’s it! Your MP3s are now stored on your device and can be played without Wi-Fi or mobile data.
Alternative: If you prefer a cable, VLC also supports file transfers through Finder on a Mac or Apple’s device-management software on Windows. You can find more details in the official VLC transfer guide.
4. How to add MP3 files to an Android phone or tablet
On Android, one of the simplest methods is to copy the MP3 files directly from your computer using a USB cable. You can also transfer them through a cloud service such as Google Drive.
Option A: Transfer using a USB cable
Step 1: Connect your Android device
Connect your phone or tablet to your computer using a suitable USB cable.
Unlock your device. If a notification appears asking how you want to use the USB connection, select File transfer or Transferring files.
The wording can vary depending on your Android device.
Step 2: Open your device on your computer
On Windows, open File Explorer and look for your phone or tablet under This PC.
On a Mac, the transfer process depends on your Android device and operating-system version. If your phone doesn’t appear as a browsable drive, use the Google Drive method below or another transfer method supported by your device.
Step 3: Copy the MP3 files
Open your device’s internal storage and look for the Music folder. If there isn’t one, you can create it.
Copy the MP3 files from your computer into that folder.
Wait until the transfer is complete before disconnecting your device.
Step 4: Open VLC
Open VLC on your Android device. If necessary, allow it to access your music files.
VLC can scan your device for audio files. Your transferred MP3s should appear in its audio library. If they don’t appear straight away, check the folder containing the files and refresh or rescan the library if that option is available.
Tap a song to test it.
Your tracks are now stored on your Android device and ready to play offline.
Option B: Transfer using Google Drive
If you don’t have a suitable USB cable or you’re using a Mac, Google Drive can be an easier alternative.
- On your computer, open Google Drive.
- Upload your Songbird Musicals MP3 files.
- Open the Google Drive app on your Android phone or tablet.
- Find the uploaded songs and download them to your device.
- Open VLC and locate the downloaded files. If needed, use your device’s Files app to move them into a Music folder.
Important: Make sure the files are actually downloaded to your device, not just available to stream from Drive. For a performance, you want local copies that will play without an internet connection.
5. Prepare your music for Performance day!
Once your music is on your device, you’re almost ready to go. A little preparation beforehand can save a lot of stress when the children are waiting to perform.
Before the day, we recommend the following:
- Test every track. Play each song from beginning to end to make sure the file works and the volume is suitable.
- Arrange the songs in performance order. If your player supports playlists, create one for your musical. Otherwise, keep the tracks clearly named and organised in a dedicated folder.
- Check your speaker connection. Test your Bluetooth speaker or wired audio connection in the actual room where you’ll perform.
- Turn off shuffle. You want the songs to play in the correct order, not randomly.
- Consider enabling Do Not Disturb. This can help prevent calls and notifications from interrupting your performance.
- Keep your device charged. A fully charged phone or tablet is much less likely to cause problems halfway through a show.
- Do one full rehearsal using the device. Practise starting, pausing and moving between tracks so you know exactly what to do on the day.
- Keep a backup. If possible, have a second device with the same music ready, just in case.
The most important thing is to practise with the same setup you’ll use for the actual performance. You’ll feel much more confident when you know the music is ready to go. With a little preparation, you can concentrate on the children and the performance rather than worrying about the technology.
6. Can I just play the songs from Spotify?
Yes! If the songs you’re using are available on Spotify, you can play them through the Spotify app instead. This can be a convenient option if you’re already familiar with Spotify and use it regularly.
You can find Songbird Musicals on Spotify, as well as other songs you might want to use in your lessons.
However, we recommend playing locally stored MP3 files for performances whenever possible.
When you stream music from Spotify, playback can depend on having a reliable internet connection. School Wi-Fi can be unpredictable, and mobile data coverage isn’t always dependable inside school buildings. A connection that drops out at the wrong moment can interrupt the music in the middle of a performance.
Spotify Premium subscribers can download eligible music for offline listening, but that requires preparation in advance and is subject to Spotify’s offline playback requirements. Simply having Spotify open doesn’t mean your music is available offline.
If you do decide to use Spotify, check whether your tracks are available for offline playback, prepare everything beforehand, and test it with your device in the performance space.
For the greatest peace of mind, download your music MP3s, transfer them to VLC and test them before the big day. That way, your music is ready whenever your performers are.
Planning a Preschool or Kindergarten Musical?
Getting the music onto your phone or tablet is just one part of preparing a classroom performance. You’ll also need to think about choosing a suitable musical, organising rehearsals, preparing props and helping children feel confident on stage.
Our Complete Pre-K and Kindergarten Musical Guide walks you through the process, from planning and rehearsing to performance day.
At Songbird Musicals, we create practical, ready-to-use musicals for early childhood classrooms, with songs and supporting resources designed to make putting on a show more manageable for teachers.
Now press play and enjoy the show!