Putting on a musical with pre-kindergarteners is a delightful adventure, full of tiny stars and big dreams! I always find it rewarding watching the kids come to life while performing.
While the focus is always on their performance, helping to remove some of the stress over setting up the sound makes a huge difference in ensuring everyone in the audience can hear those adorable voices.
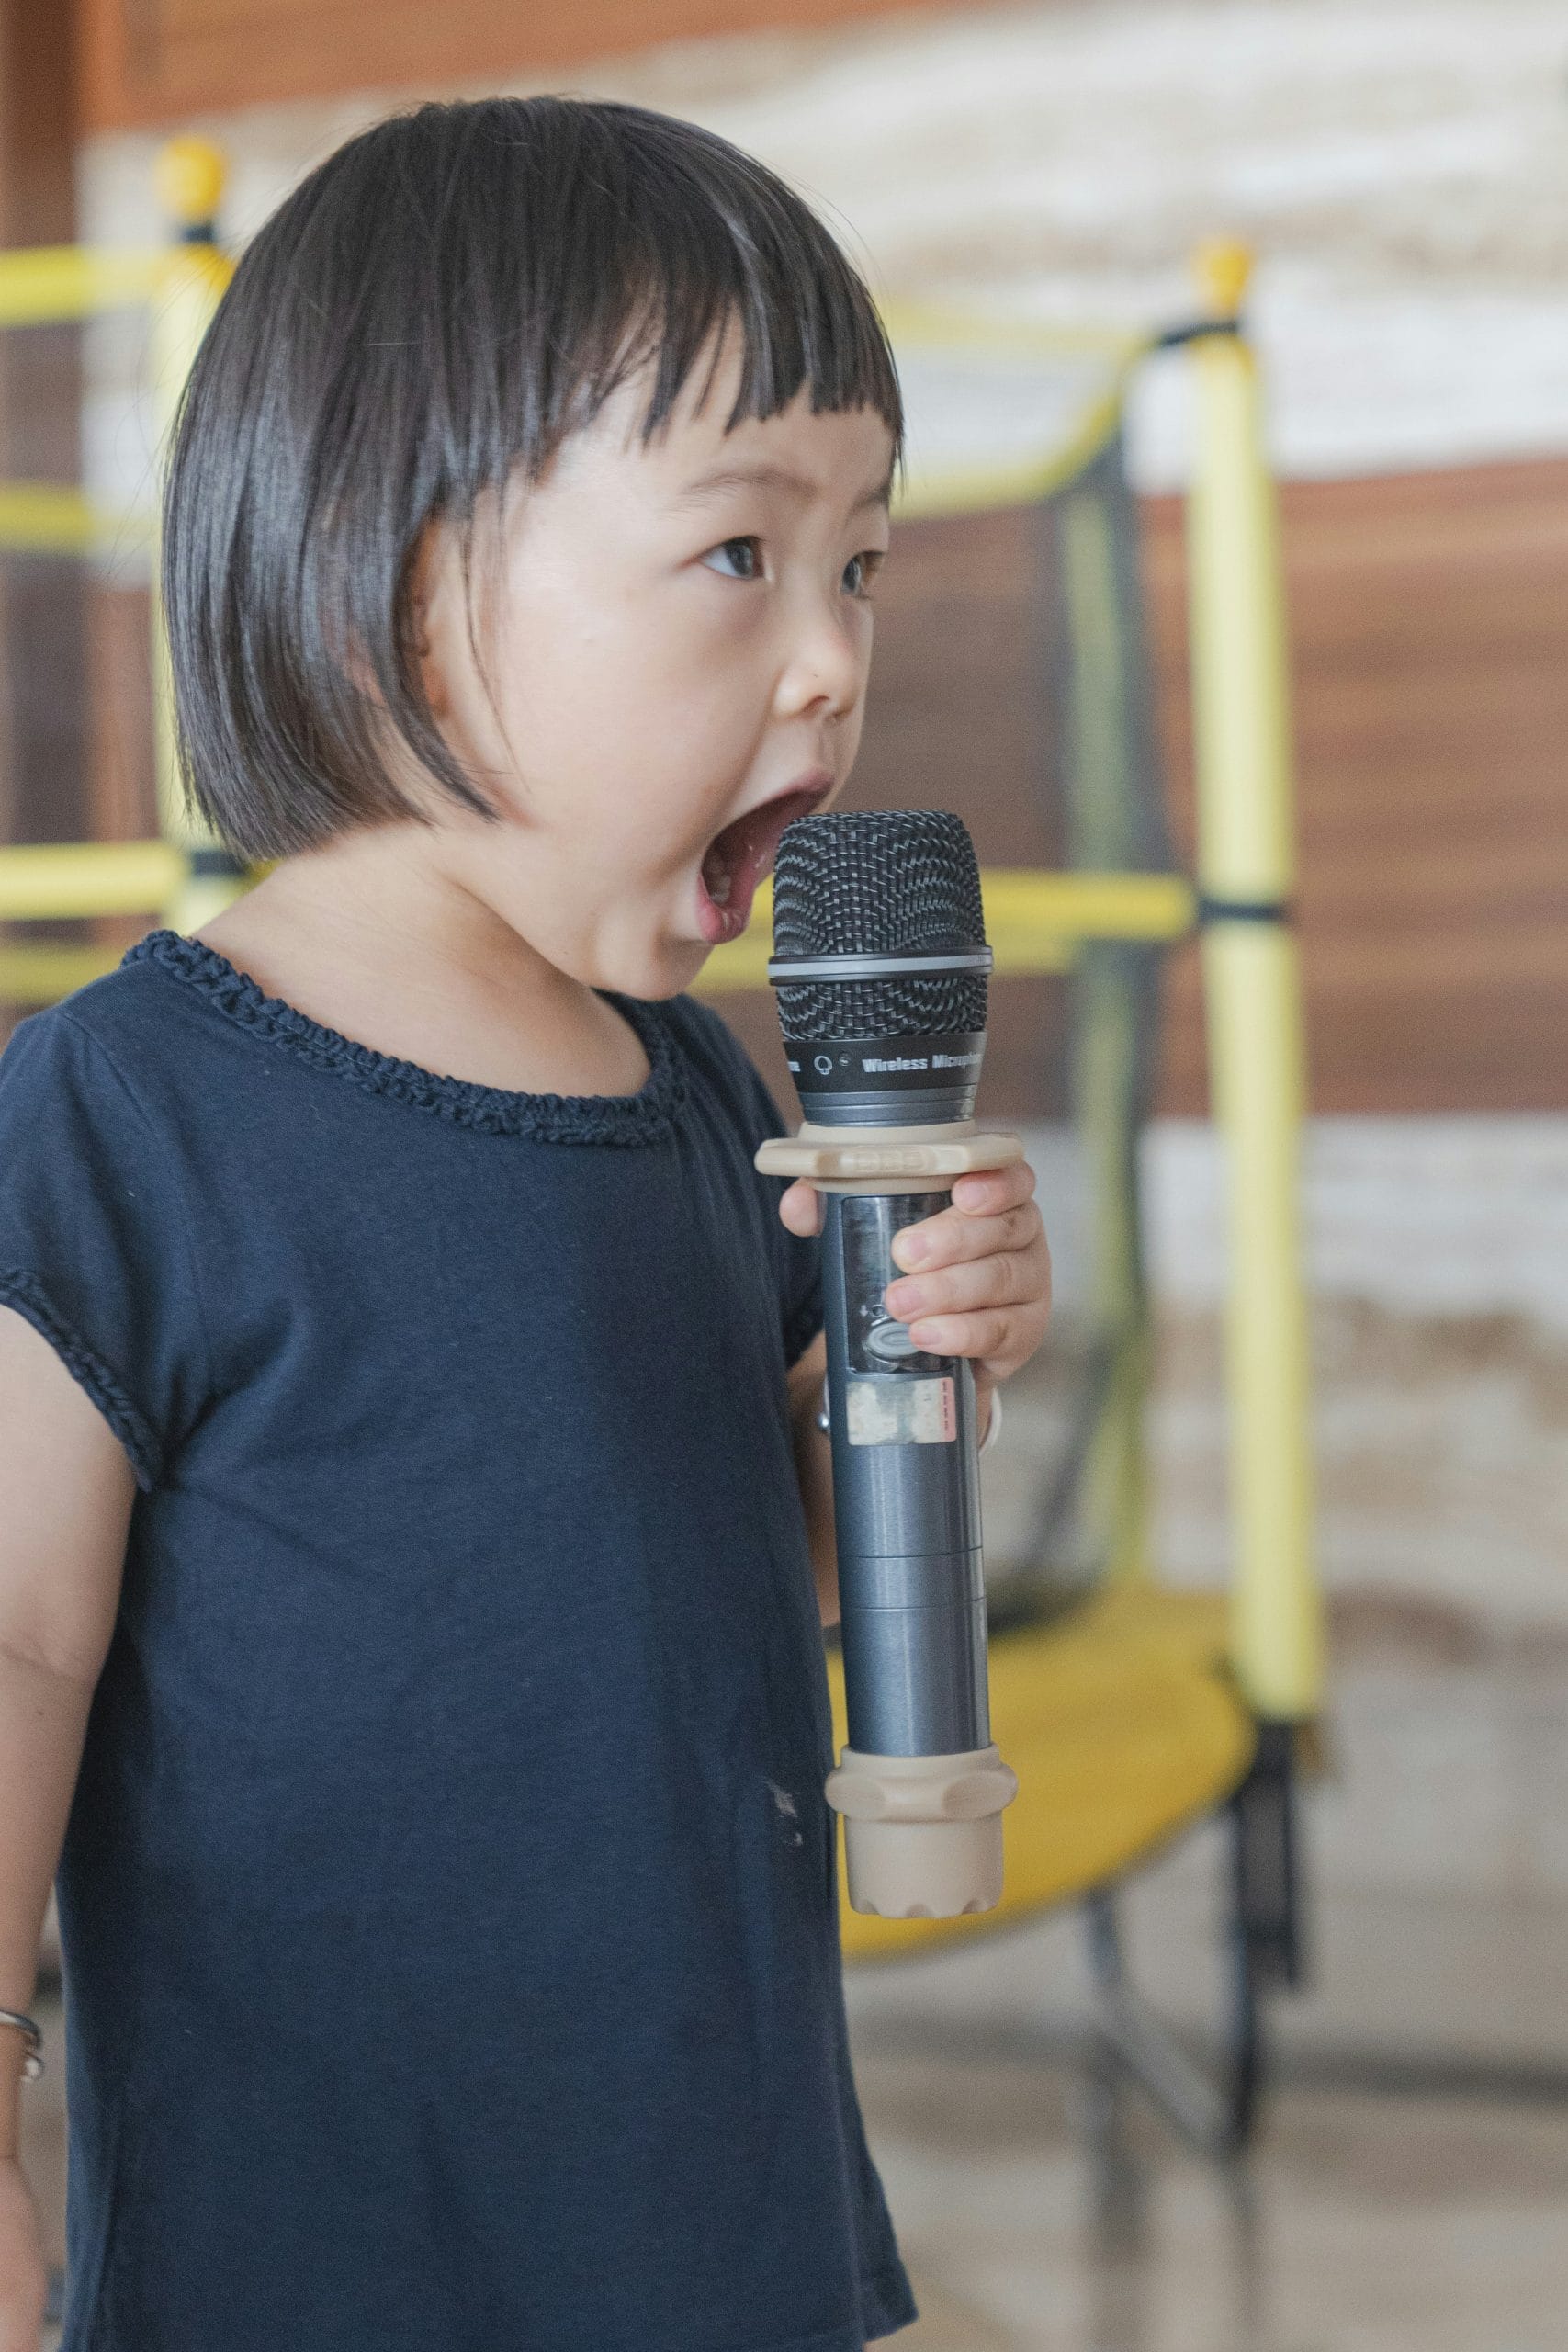
You definitely don’t need to be a sound engineer to make your pre-k musical sound great. Here are 10 technical audio tips to help you shine:
1. Location, Location, Location: Choose Your Space Wisely
Before you even think about microphones, consider your performance space. A room with high ceilings and fewer hard, reflective surfaces (like bare walls or concrete floors) will naturally sound better.
If you find that your space is echoey, consider adding temporary sound absorption like blankets, curtains, or even rugs to help “soak up” some of the sound. This will help the sound come across more clearly.


2. The Audience
Consider the amount of people likely to show at the performance too. We usually have more than one parent per child come along – so make sure there are enough seats!!
We sometimes use a little library space in our school – loads of books and rugs and chairs and room for the kids to perform and the parents to watch. Often we use a local church – they have the stage already set up, with lots of space for the audience. Plus they’re extremely nice people!
3. A way to control the sound
This is very dependent on where you choose to set up your musical, and how technical you want to get. I’ll write some more articles to help you choose the setup you want, but for this section we’ll go with a small-ish set up.
For a small pre-k musical, two front-facing speakers (one on each side of the stage) is usually sufficient. Place them at the front of the stage, facing the audience, and ensure microphones are behind the speakers to prevent feedback (that annoying high-pitched squeal). Elevating speakers on stands can also help the sound travel further and more evenly across the audience.
4. Playback Power: Music Matters
Whatever you have the backing tracks on, you need to ensure your playback device is loud enough for both the kids and the audience to hear it. Test the volume levels of your music well before the show to ensure it’s loud enough to be heard over the singing and audience, but not so loud it overpowers the performers.
5. The Importance of a Sound Check Before your audience arrives, do a full sound check with your performers. This is crucial for two reasons. Firstly, for the kids, it’s important to get them used to the space if they haven’t sung there before. Secondly it’s important to make sure it’s working well before the audience shows up. Have them speak and sing at their normal volume. If you’re using microphones, adjust the balance of microphone and music playback levels to ensure everything is balanced and clear. Listen from different parts of the room to catch any dead spots or areas where the sound is unclear.
6. Cables: Tidy and Taped!
Loose cables are a tripping hazard and can lead to connection issues. If you have cables running on the stage, use gaffer tape to secure them all to the floor, especially in high-traffic areas. Labeling your cables can also save you a lot of time and frustration during setup and teardown.
7. Recruit some help!
I’ve placed this last, as it’s not possible for everyone. But if you can, even with a simple setup, find a dedicated person to manage the sound during the performance. You’ll find it invaluable, and you’ll be able to concentrate on coaching the kids. This could be a parent volunteer, another teacher, or even an older student. They can adjust volumes as needed, mute microphones when not in use, and troubleshoot minor issues, allowing you to focus on directing your little stars!